Maintenance
Maintenance is a relatively simple annual affair. It should be undertaken end Spring early Summer during a dry spell. While the actual work time to maintain a life size horse sculpture might be only 4-5 hours per year, after applying one solution you have to wait for the sculpture to dry before applying the next, hence the process is best undertaken over the course of 2 days.
First Stage
Check the sculpture for moss / lichen. While either will take decades to degrade the wood significantly, if any part of the sculpture has a greenish tinge it is best to treat the sculpture with moss killer. I use Patio Magic although any all-purpose patio and decking moss killer will do. Follow the manufacturer’s instructions. In the case of Patio Magic, just spray or lash it on liberally with a brush and allow the sculpture to dry. Once dry the sculpture would have shed all green tinges. Allow one gallon / 4 litres to treat a life size horse sculpture. This stage will take no more than an hour.
Second Stage
Once completely dry from the Moss Killer, pressure wash the sculpture with fresh water. This will remove all traces of moss and moss killer and a little of the silvery weathering effect. The sculpture is hardy and can withstand the pressure however if you are washing a hare or smaller sculpture, make sure the nozzle is some 50cm / 2ft from the smaller pieces of wood.
I use a K4 Karcher household car pressure washer. Getting a little technical, any pressure washer that provides 1800PSI / 125bar will do the trick. This stage will take no more than an hour having set up the electrical and water connections.
Third Stage
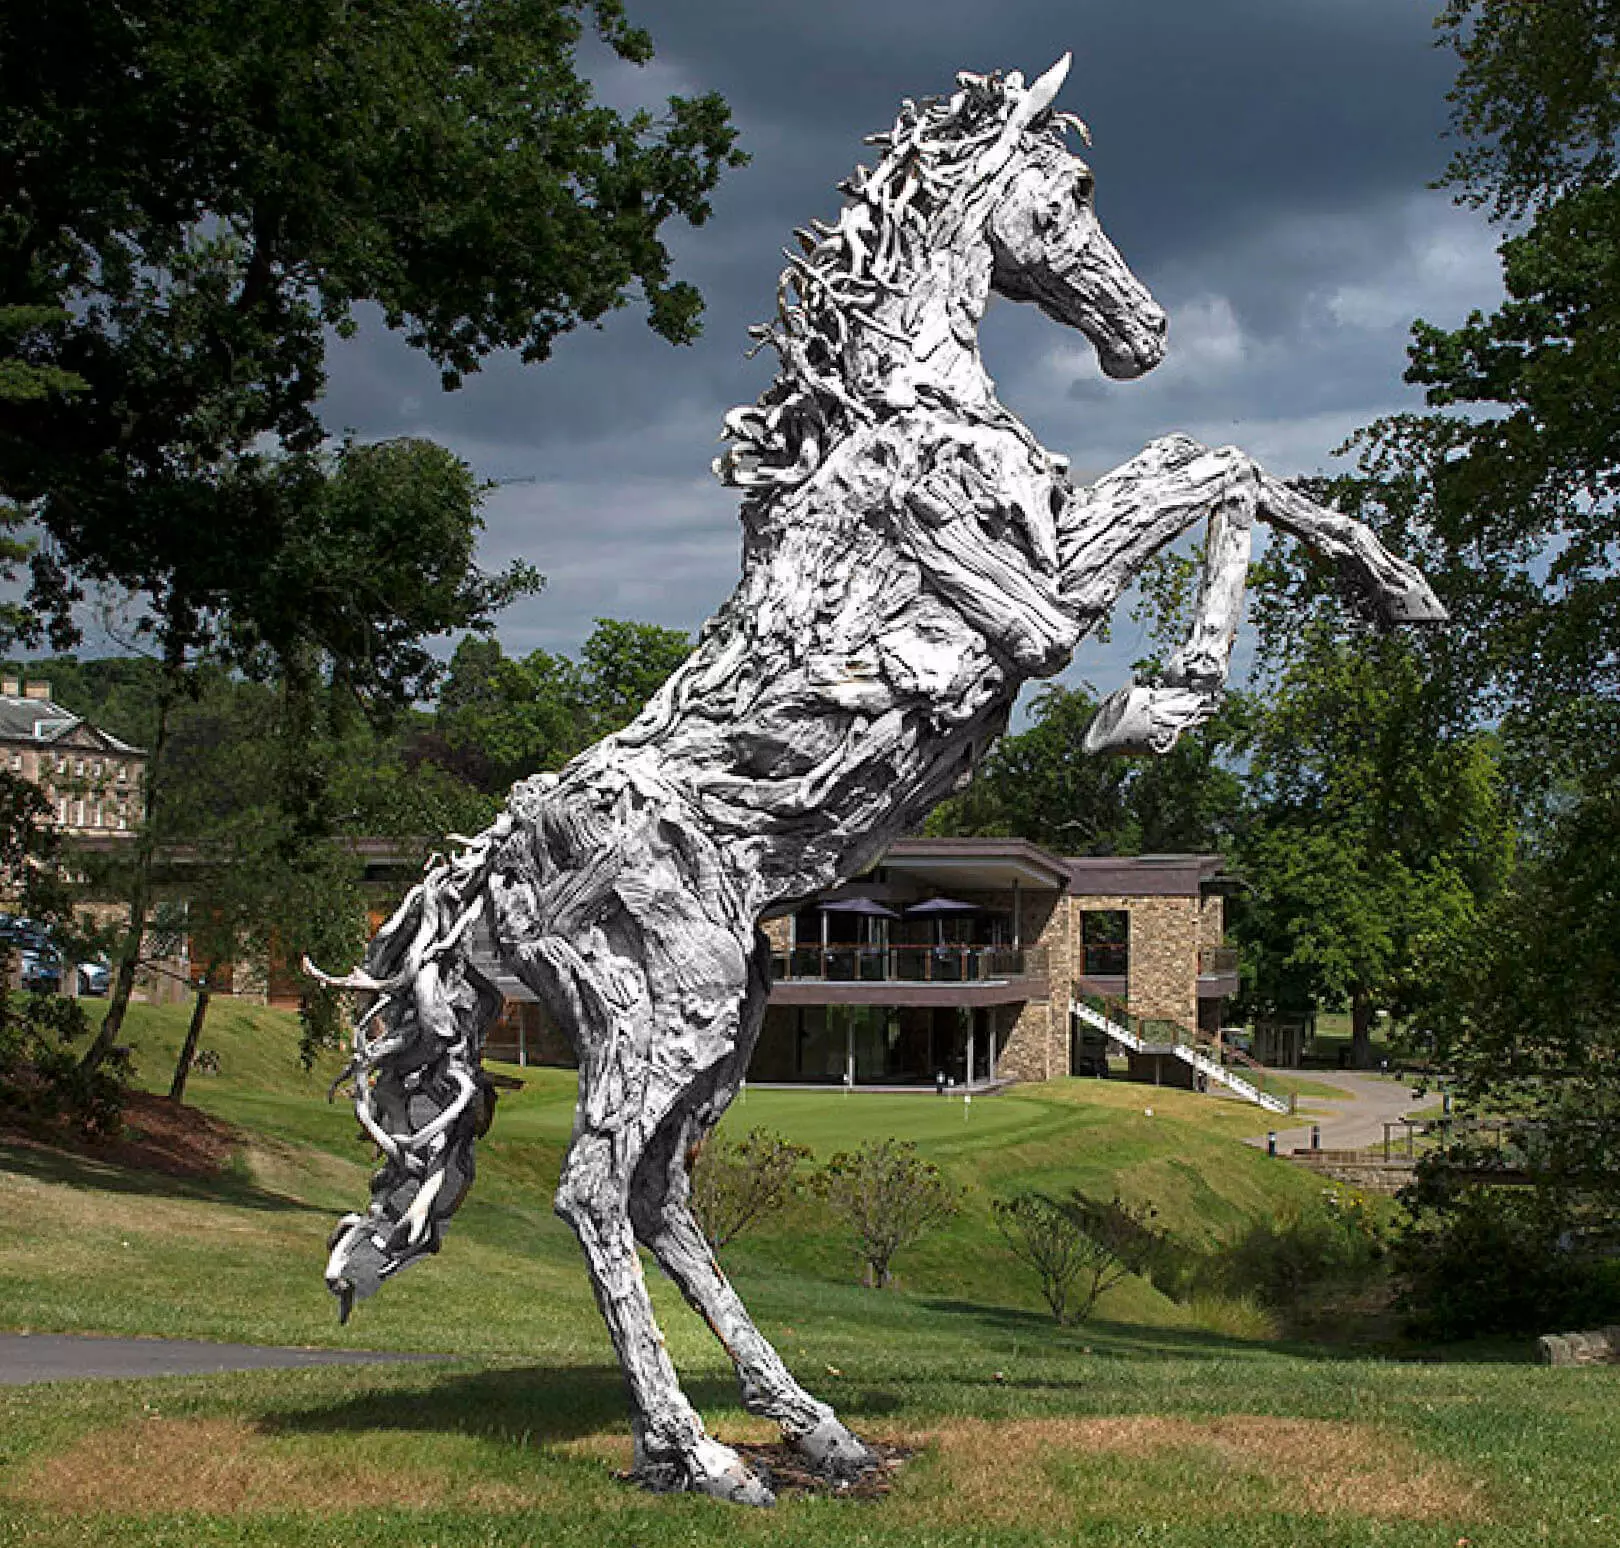
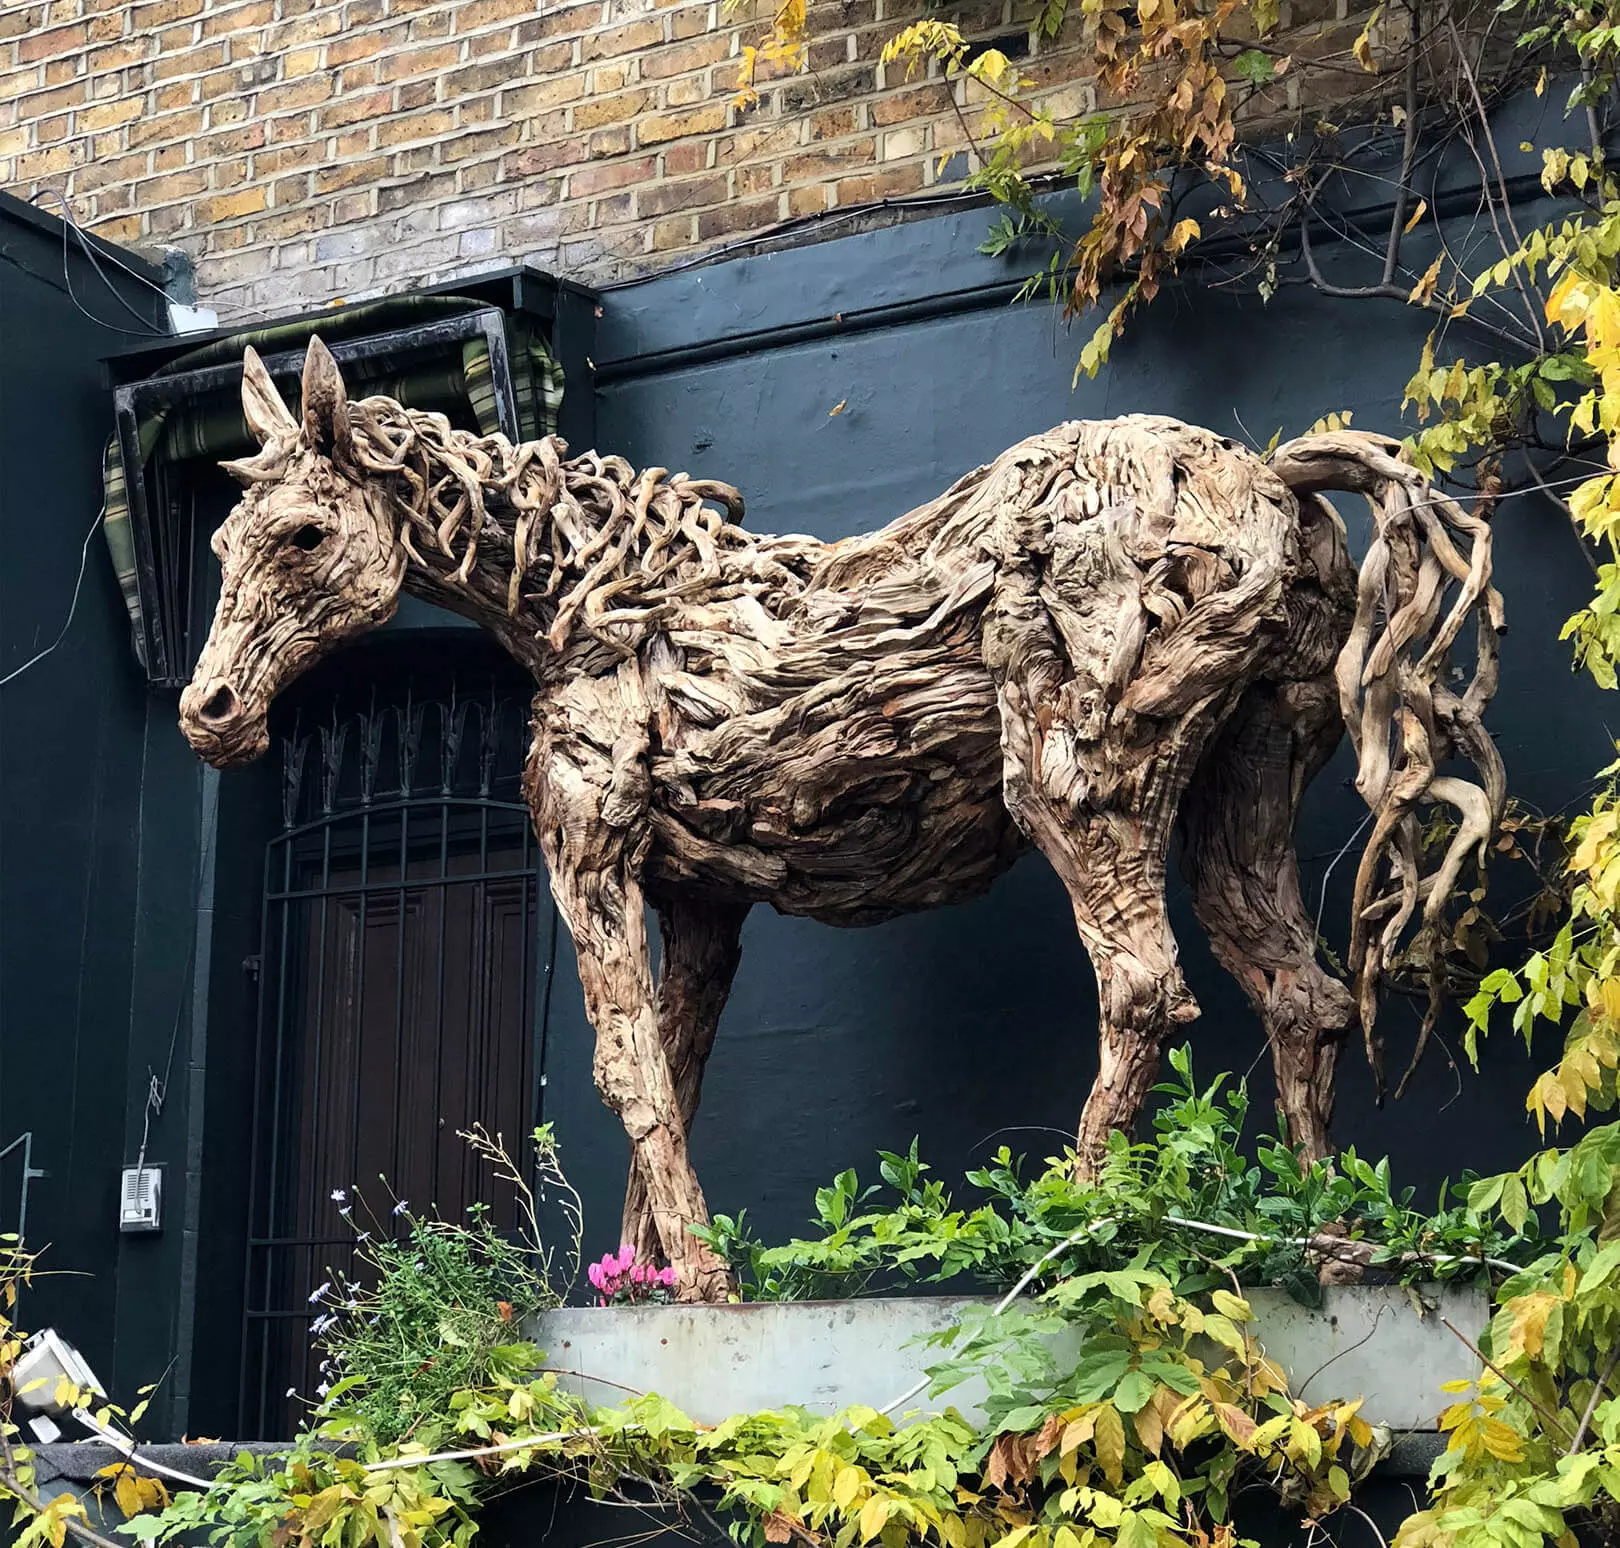
My clients can be split into those that prefer the weathered silvery look and those that prefer the original light tanned look. Please refer to the image below;
To retain the weathered silvery look
Lash on a coating of natural wood preservative. In the UK I use Cuprinol or Ronseal wood preservative. Please make doubly certain that it is NATURAL as there are some horrible colours out there that do nothing for the sculpture! In the US or the Philippines I use Solignum. Any all-purpose garden shed / fencing wood preservative will do. Take note that this is not the same as teak oil or furniture oil. Use a wide brush – 10cm / 4” and lash on the solution top down. Allow a gallon / 4 litres to treat a life sized horse sculpture.
To bring back the original colour of the sculpture
I have developed a custom made anti-weathering coating which is a composite of 3 solutions. This not only protects the wood but also brings back the highs and lows of the original sculpture. Please let me know if you would like me to provide you the finish. The cost is around £30.00 / gallon + postage. I am also happy to give my clients the formulation for you or your staff to buy and mix yourself.
Before applying, the sculpture must be completely dry. Mix the coating well and apply liberally from the top down using a wide brush – 10cm / 4”. Allow one gallon / 4 litres to treat a life-sized horse sculpture.
Initially the anti-weathering coating will turn the sculpture worryingly dark, however after a couple of days the oils will seep into the wood and the sculpture will lighten up.
Final stage
Please check the area where the sculpture connects to the ground. Clean the area a little to ensure that the wood is not in direct contact with earth / grass.
Please do let me know if you would like me to drop by to instruct you or your staff on any part of the maintenance procedures. My visit will most likely have to wait until May / June.
Installation
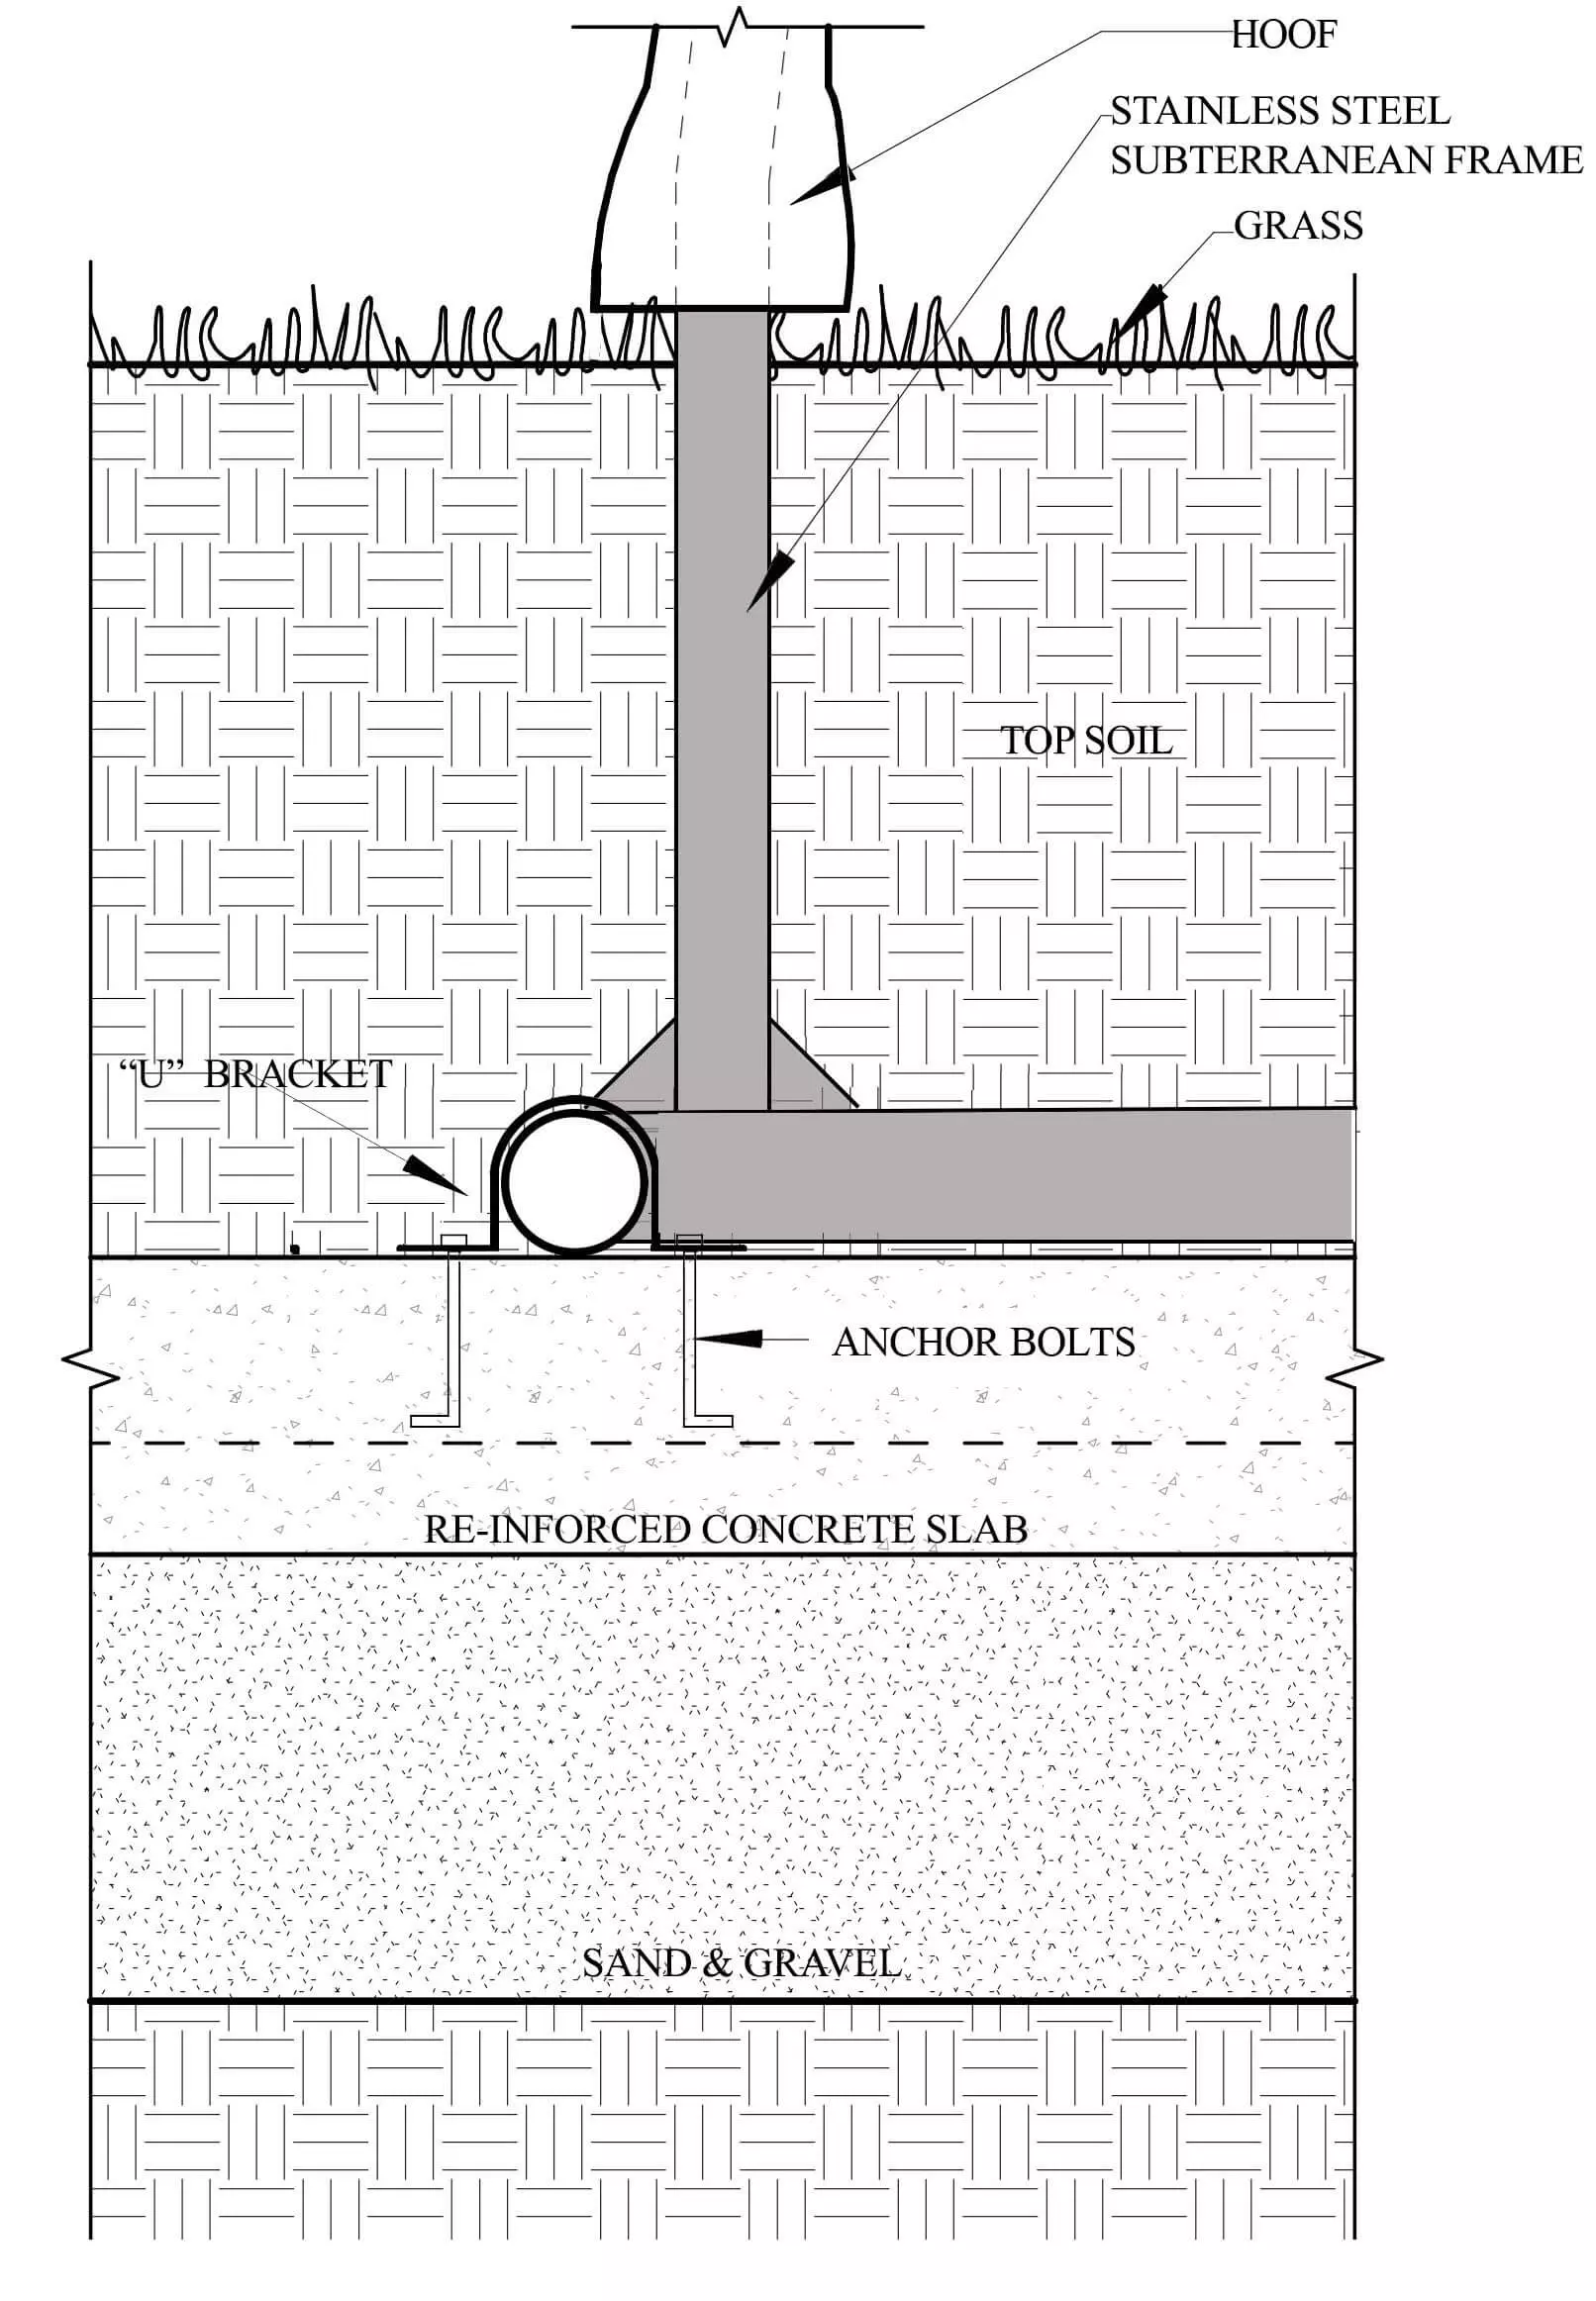
The most important detail is to make sure that the wooden base of the sculpture (generally the hooves of the animal) is elevated from the ground. I am happy if one can insert one's fingers between the hooves and the body of the lawn / ground. This means that wood will dry out after rainfall. Most of my full size sculptures are built on a stainlesss steel subterranean frame. The frame is designed to sit on a concrete slab embedded below the surface of the ground. Once the location is determined, excavate an area a little larger than the stainless steel frame. The depth of the excavation should allow for the thickness of the concrete slab and the hieght of the subterranean frame. I will liaise with the client to establish these measurements.

Diagram showing concrete slab and subterranean frame.
With my larger sculptures (200kg +) lifting equipment is required to be on-site to winch the sculpture onto the concrete slab. I incorporate a lifting eye into the design of the armature (the structure of the sculpture) to make the job of lifting the sculpture safer. Once in place, I provide "U" brackets that hug the subterranean frame. 2 pcs 12mm dia concrete bolts (or expansion bolts) hold each "U" bracket onto the concrete.
The excavated area is then filled with top soil and covered with turf or any other ground cover.
Some of my sculptures are mounted on a driftwood base. In this case a concrete foundation should seperate the wooden base from the ground. The danger is that if the wooden base is set directly on earth, it might well start to decompose over the course of 10-20 years.
Protecting Sculptures during extreme weather conditions
For large outdoor sculptures I provide a severe weather jacket which can be slung over the sculpture in times of extreme weather. What constitutes extreme weather? Severe snow storms, Arctic type weather conditions. Almost all the driftwood I use is really oily, decades dead and hard as nails which stops it from absorbing moisture hence there is no need to cover the sculpture during times of rainfall / frosts.
If the sculpture comes with antlers, the antlers will need to be removed before placing the severe weather jacket. You will find a stainless steel ring at the base of the antlers that attaches to a lock pin - pull this out, then remove carefully the antlers. The tail of my later equine sculptures (post 2010) removes in which case the tail should also be removed before placing the severe weather jacket. If the tail is removable you will notice a small stainless steel ring at the centre of the rump which, if drawn, will pull out a pin that locks the tail in place. Best to reinsert pin with or without tail / antlers to avoid losing it.
My earlier sculptures of rearing/jumping stallions were supplied with a brace which should be inserted usually between the chest and the base of the sculpture during heavy winds / serious gales.
Both the the brace and the canvass are best set in place if you are leaving for an extended period of time over the winter months.


